Preparing Subfloor for Laminate Flooring Installation

When it comes to laminate flooring, a well-prepared subfloor is the key to a successful and long-lasting installation. The subfloor serves as the foundation for your laminate flooring, providing stability, support, and a smooth surface. Taking the time to properly prepare your subfloor will ensure that your laminate flooring looks and performs its best.
If you are considering installing laminate flooring in your home, we will guide you through the steps involved in preparing your subfloor for laminate flooring installation, so you can achieve a professional-looking finish and enjoy your new flooring for years to come.
Evaluate the Subfloor
Before you begin any flooring installation, it's crucial to inspect your subfloor. Ensure that it is dry, clean, and level. If there is any existing flooring, remove it carefully, making sure no debris or nails remain. Sweep, vacuum, or mop the subfloor to get rid of any dust, dirt, or grime. If the subfloor is uneven, make a note of the problem areas for further treatment. It's crucial to address any underlying issues before laying the laminate flooring to prevent future problems.
Remove Existing Flooring
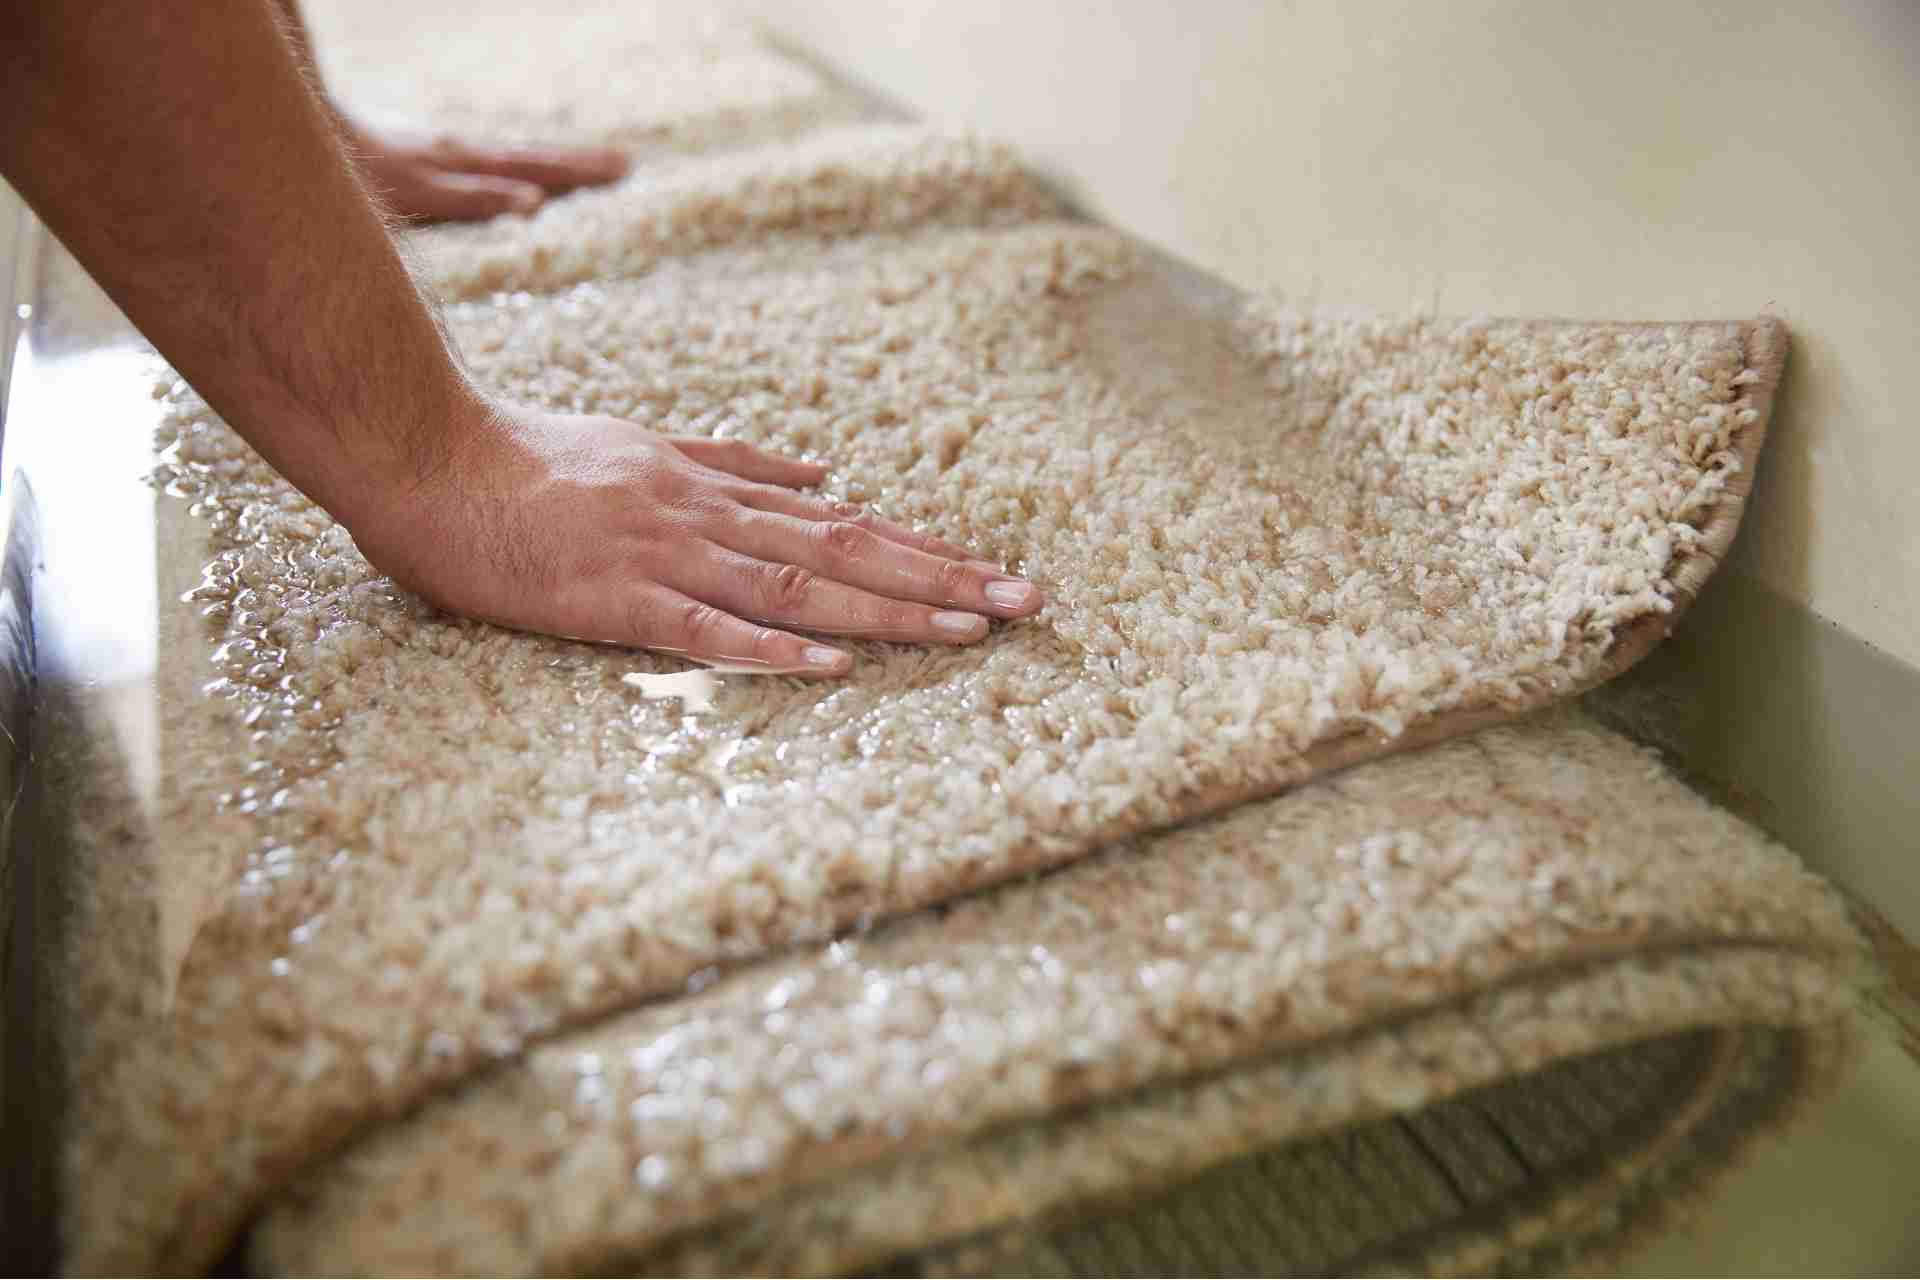
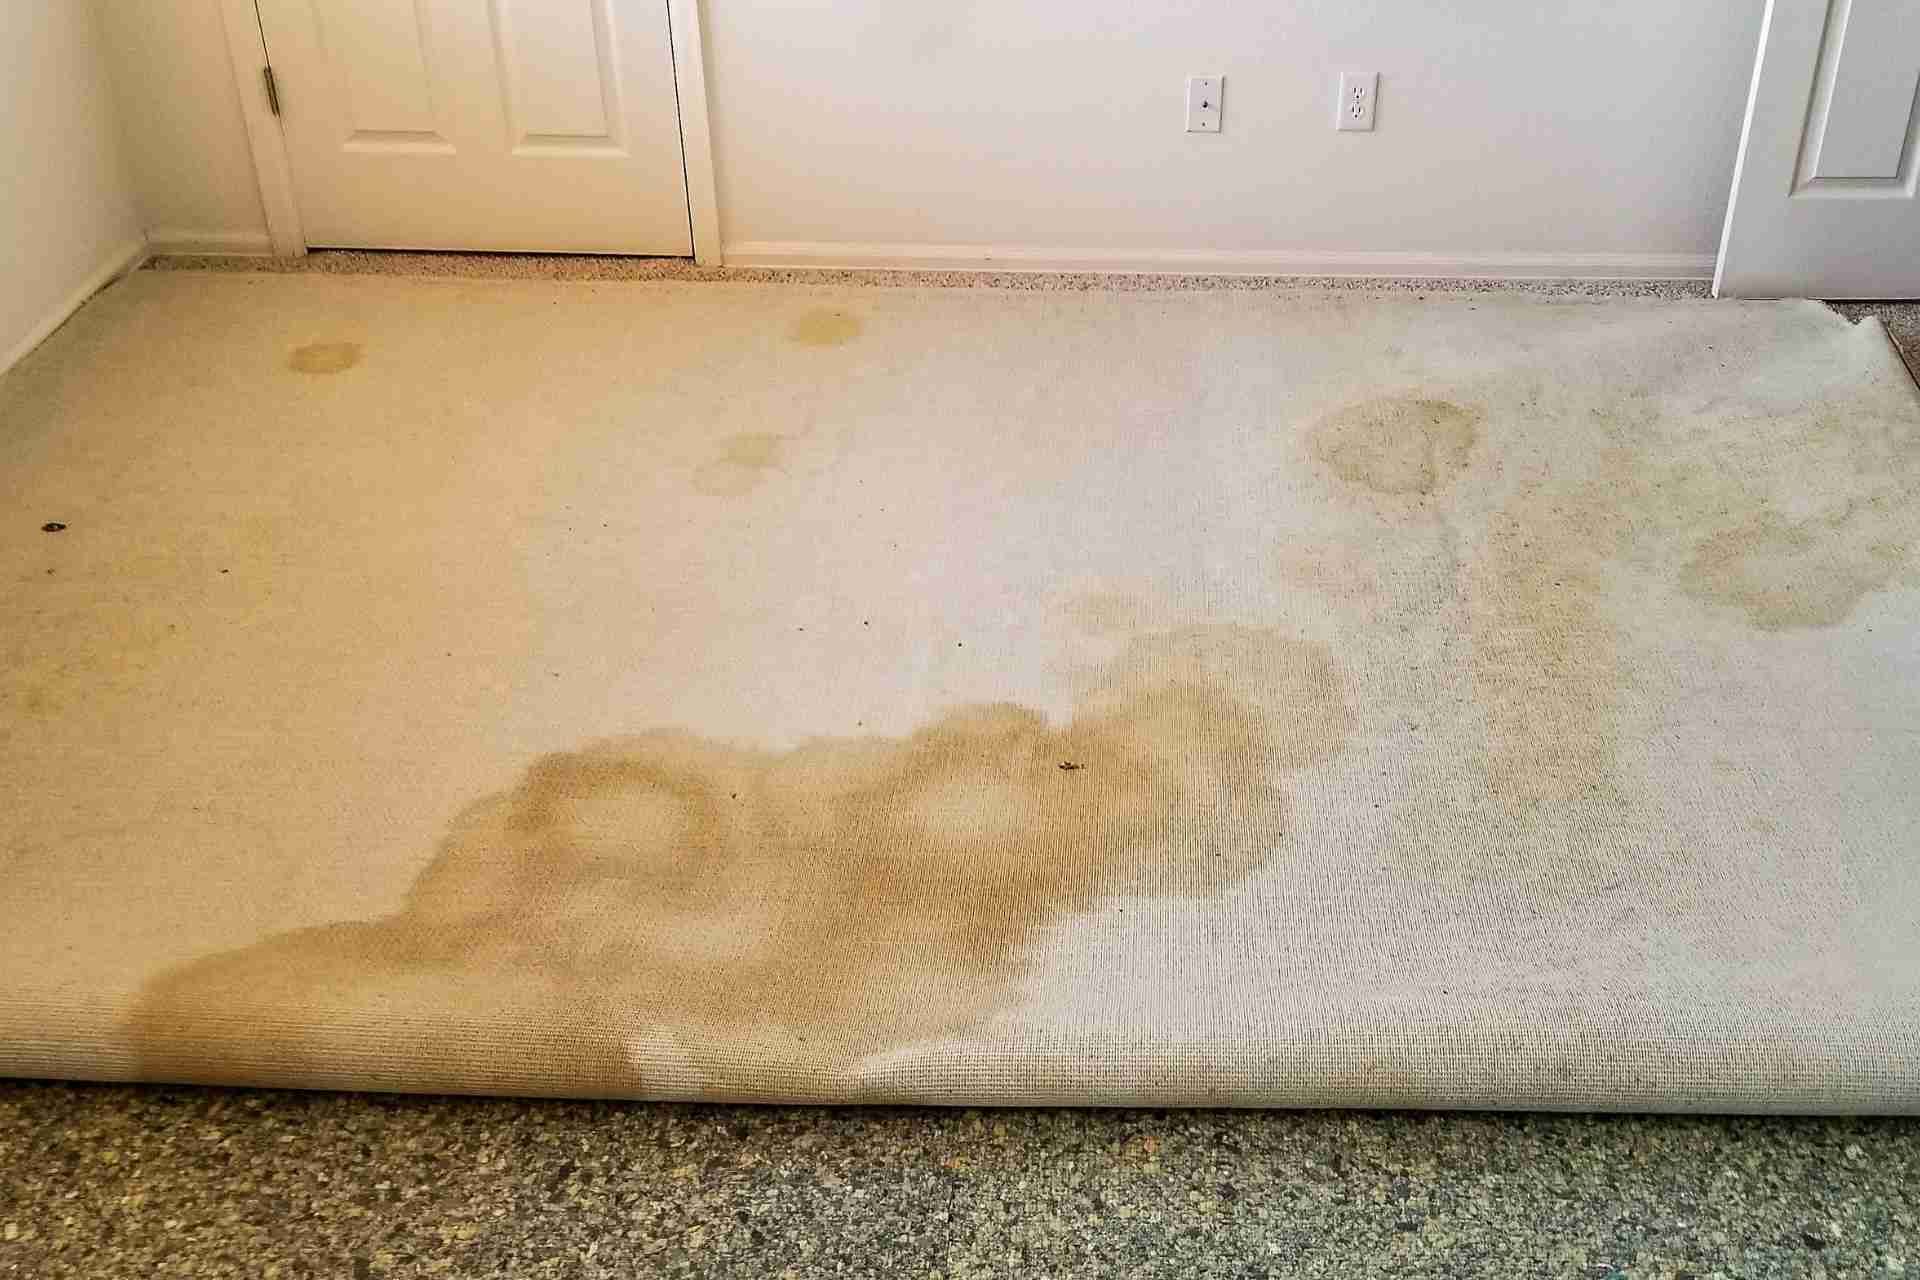
If you have any type of flooring already installed, you must remove it before proceeding further. This includes carpet, vinyl, hardwood, or any other covering. The subfloor needs to be completely clean and level.
Level the Subfloor
A level subfloor is crucial for a smooth and even laminate flooring installation. To level your subfloor, use a leveling compound or self-leveling underlayment. After removing the old flooring, check for any noticeable dips or unevenness in the subfloor. Use a leveling compound to fill in any low spots and sand down high points using a sander. A level subfloor is crucial for a proper and even laminate flooring installation.
Address Moisture Issues
Moisture can be the enemy of laminate flooring, causing warping, buckling, and mold growth. Ensure that your subfloor is dry and free of moisture before installing the laminate. If you suspect moisture problems, such as in basements or bathrooms, consider using a moisture barrier or installing a vapor barrier underlayment to protect your flooring. Use a moisture meter to measure the moisture content of your subfloor. If it exceeds the recommended level, fix the moisture issue before proceeding.
Address Subfloor Imperfections
If your subfloor has any imperfections like cracks, holes, or gaps, they need to be filled to create a suitable base for laminate flooring. Use a floor patching compound or wood filler to repair these imperfections. Fill the cracks or holes, and then smooth the surface with a putty knife. Allow it to dry thoroughly, and then sand it down to create a smooth finish.
Clean the Subfloor Thoroughly
Before laying the underlayment, it's essential to clean the subfloor properly. Remove any dust, debris, or adhesive residue to ensure a smooth surface. Vacuuming and sweeping are typically sufficient for this step.
Install Underlayment
Underlayment is an essential layer that provides stability, insulation, and sound absorption for your laminate flooring. Roll out the underlayment across the entire subfloor, ensuring that the edges are tightly joined and secured. Trim any excess material. Before laying the laminate flooring, install an underlayment on the prepared subfloor. Foam, cork, or rubber underlayment helps to absorb sound, provides cushioning, and creates a smoother surface for the laminate planks.
Acclimate the Laminate Flooring
Laminate flooring needs time to adjust to the temperature and humidity of the room. Leave the flooring planks in the room for at least 48 hours before installation. This allows them to expand or contract, minimizing the risk of gaps or buckling after installation.
Acclimation is the process of allowing the laminate flooring to adjust to the conditions of its new environment before installation. This step is necessary because laminate consists of multiple layers, including a moisture-resistant core, a high-density fiberboard (HDF) layer, and a decorative top layer. These layers can react to changes in temperature and humidity, leading to expansion or contraction if not properly acclimated.
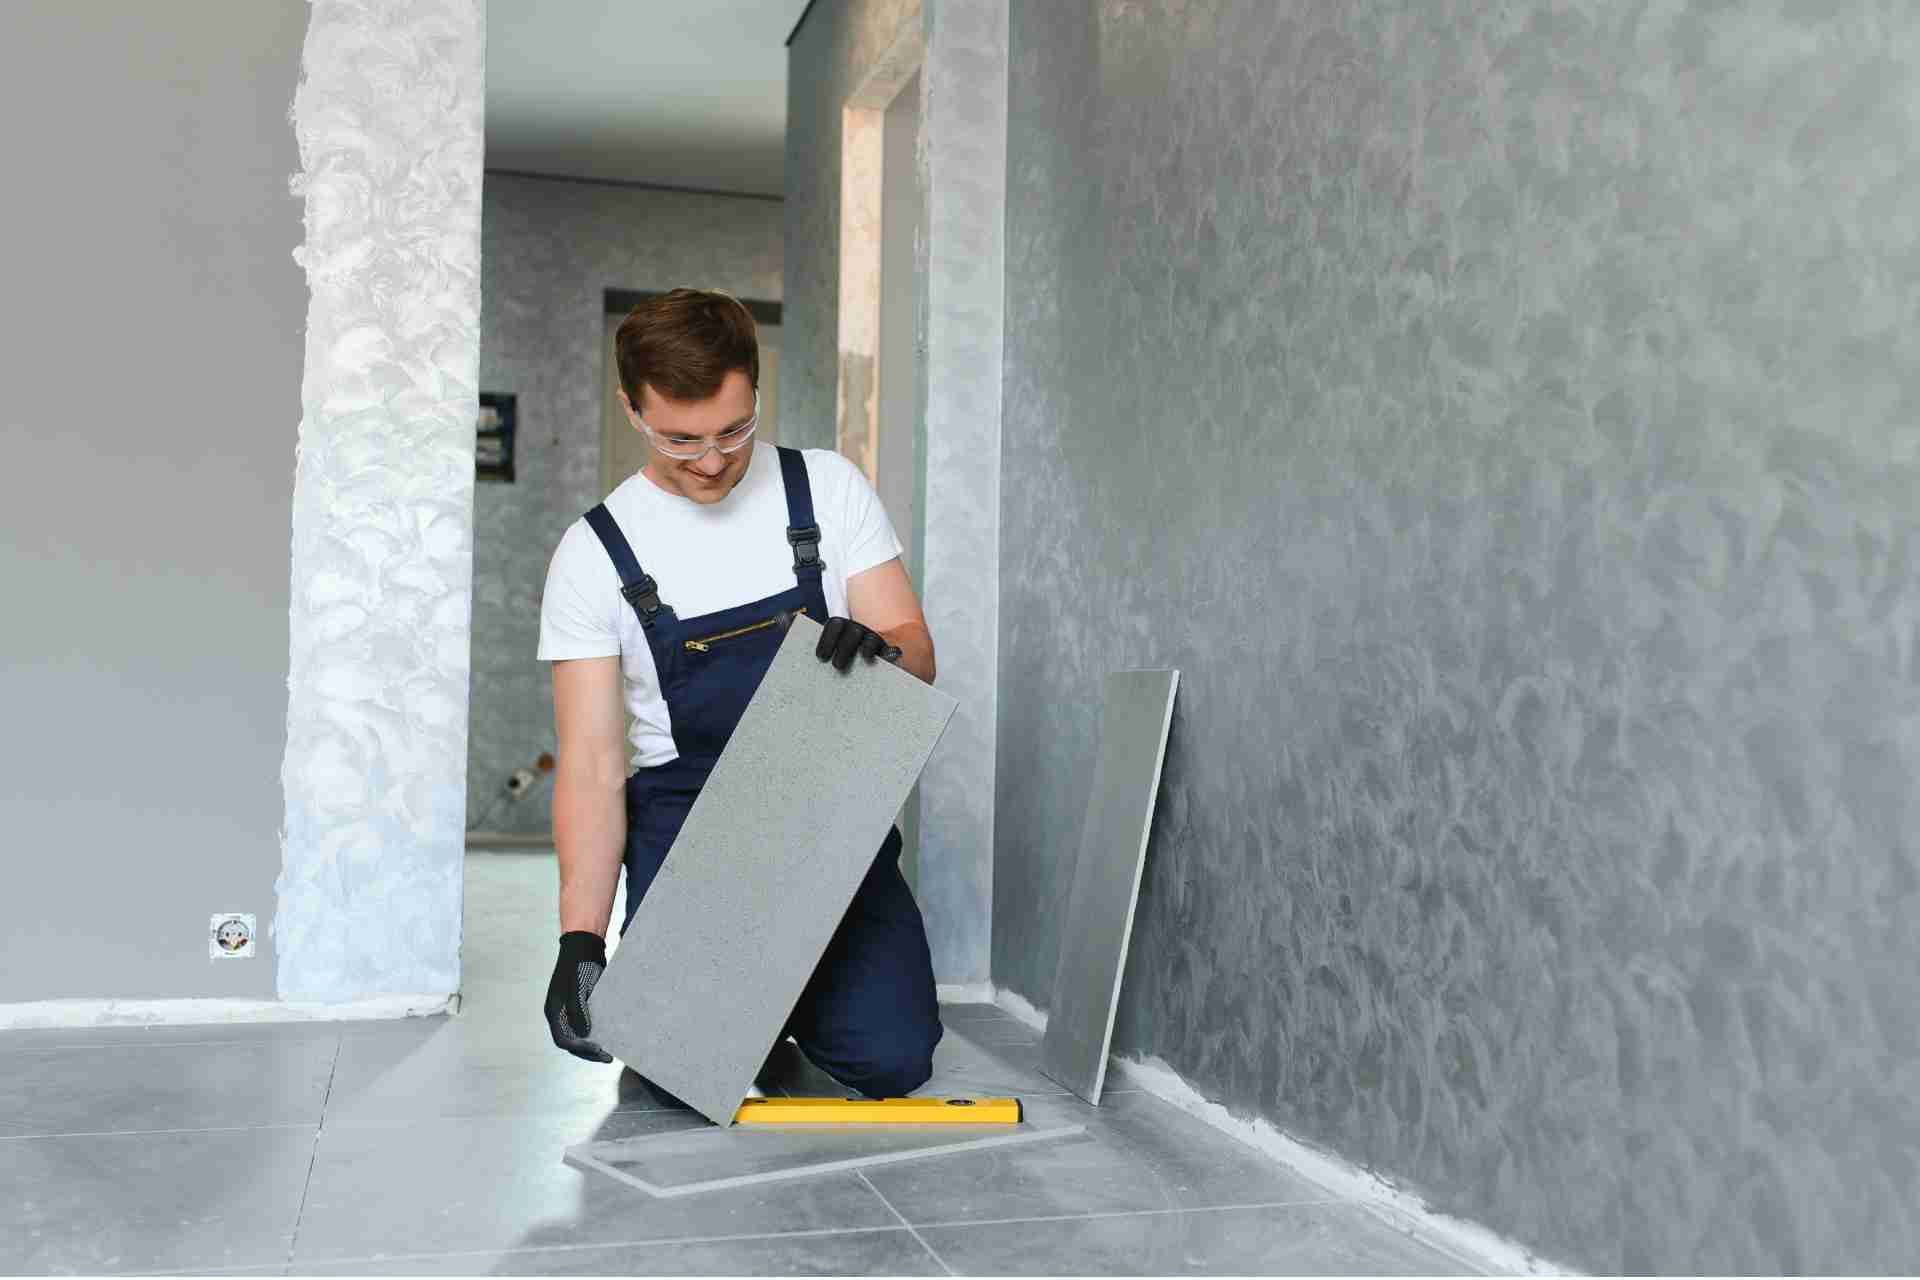
Begin Laminate Flooring Installation
With the subfloor prepared and the laminate flooring acclimated, you are ready to start the installation process. Follow the manufacturer's instructions carefully, working one row at a time, and using spacers to maintain proper expansion gaps along the edges. Use a mallet and tapping block to connect the planks firmly.
Finishing Touches
Once the laminate flooring is installed, remove spacers, and install appropriate transition moldings around the edges and doorways to give your flooring a polished, professional look. Finally, thoroughly clean the floor to remove any dirt or dust, and enjoy your newly installed laminate flooring.
Conclusion
Don't rush through the preparation process; a well-prepared and level subfloor will minimize future issues and ensure that your new laminate flooring looks flawless in your space. Instead, work with
1st Class Cleaning & Flooring for proper preparation and installation.