How to Install Glue Down Flooring
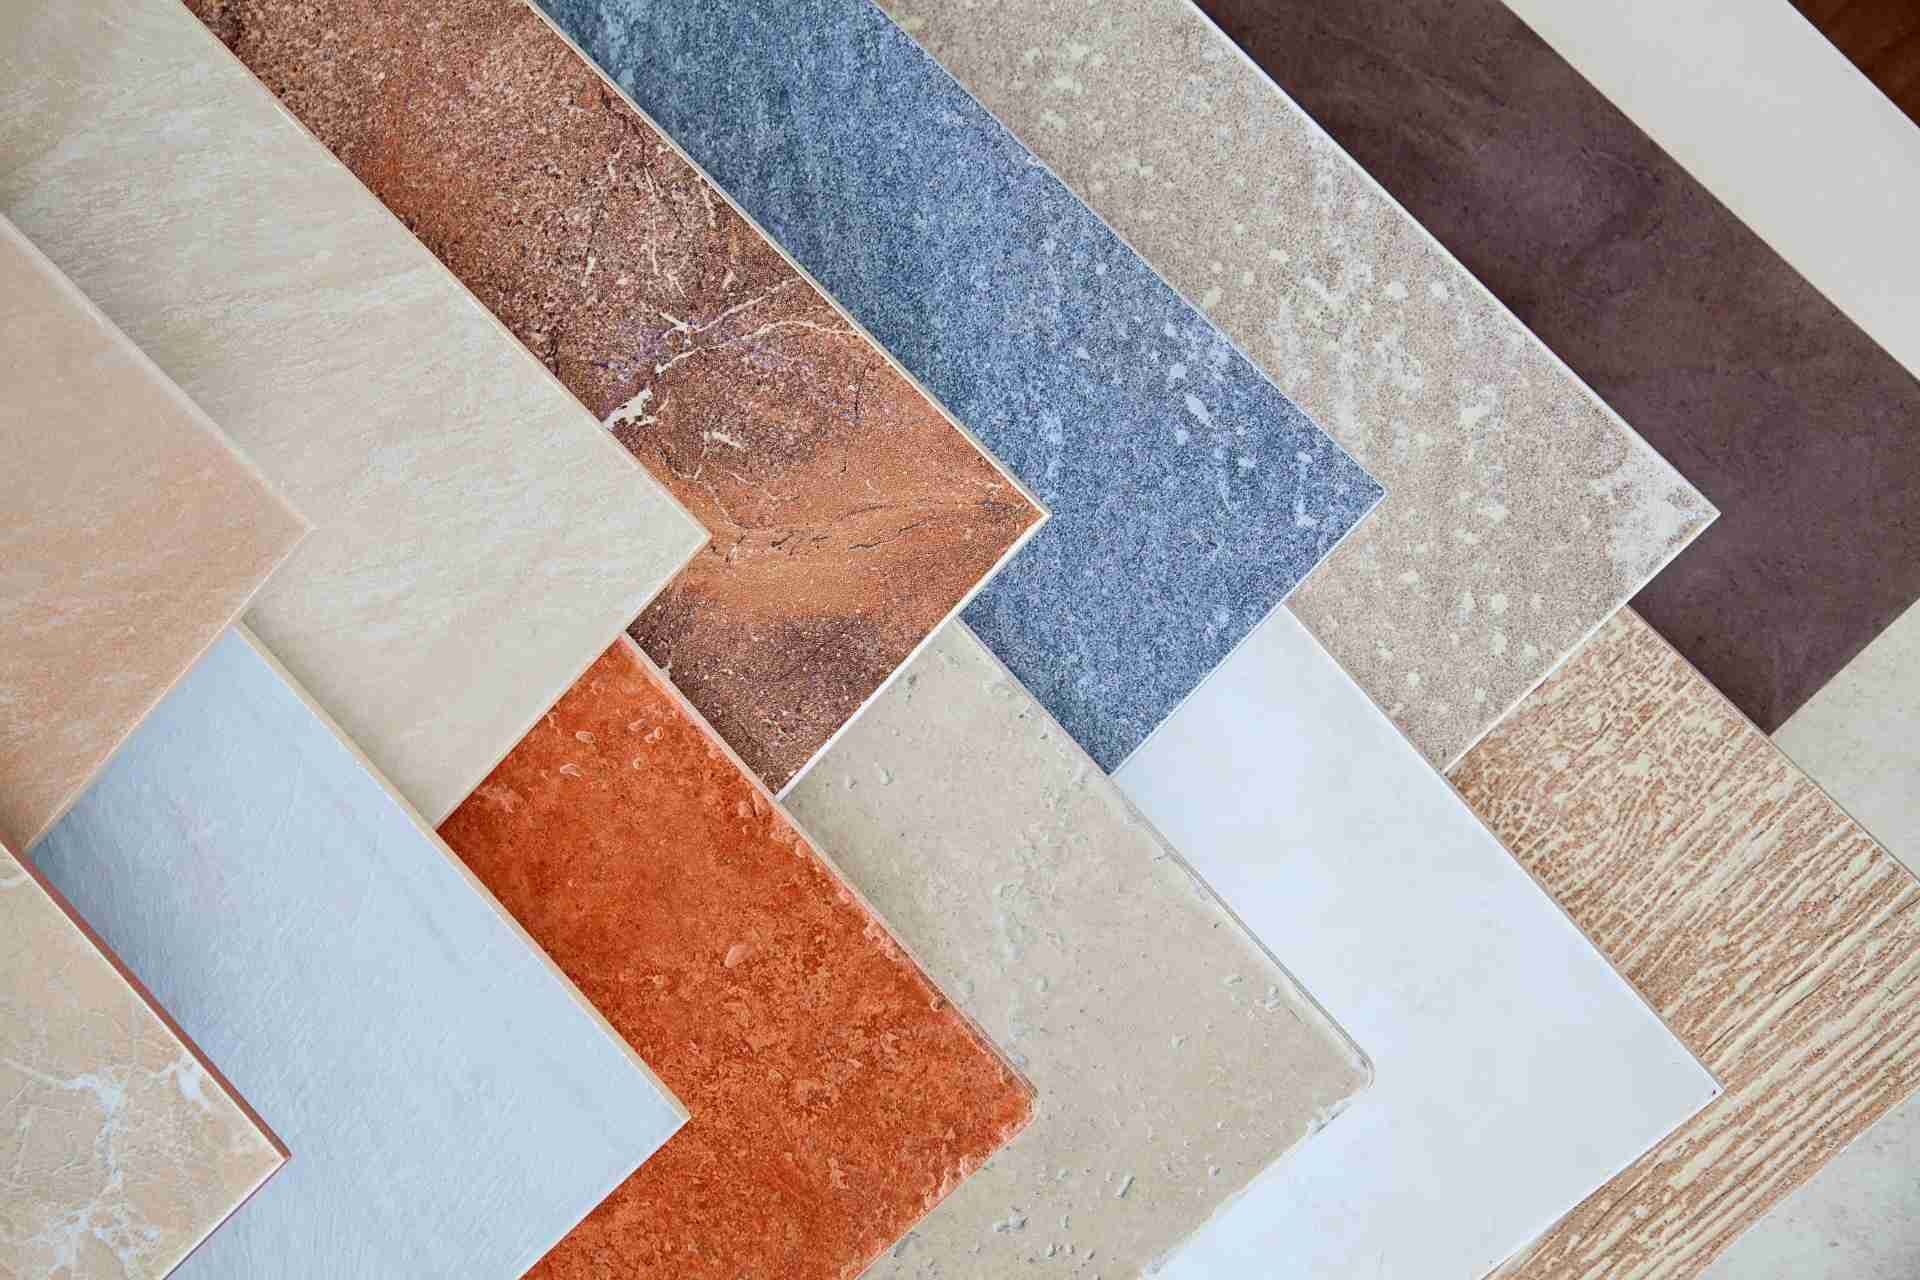
Glue down flooring can be a great option for homeowners looking for a durable and long-lasting flooring solution. Whether you’re installing vinyl, laminate, or engineered hardwood, glue down flooring can provide a seamless and professional finish.
If you’re considering installing glue down flooring in your home, here are some steps on how to install glue down flooring:
Prepare the subfloor
Before you begin installing your glue down flooring, it’s important to make sure the subfloor is clean, dry, and level. Remove any existing flooring and fill in any cracks or holes with a patching compound.
Here are some steps to follow to prepare the subfloor for glue down flooring:
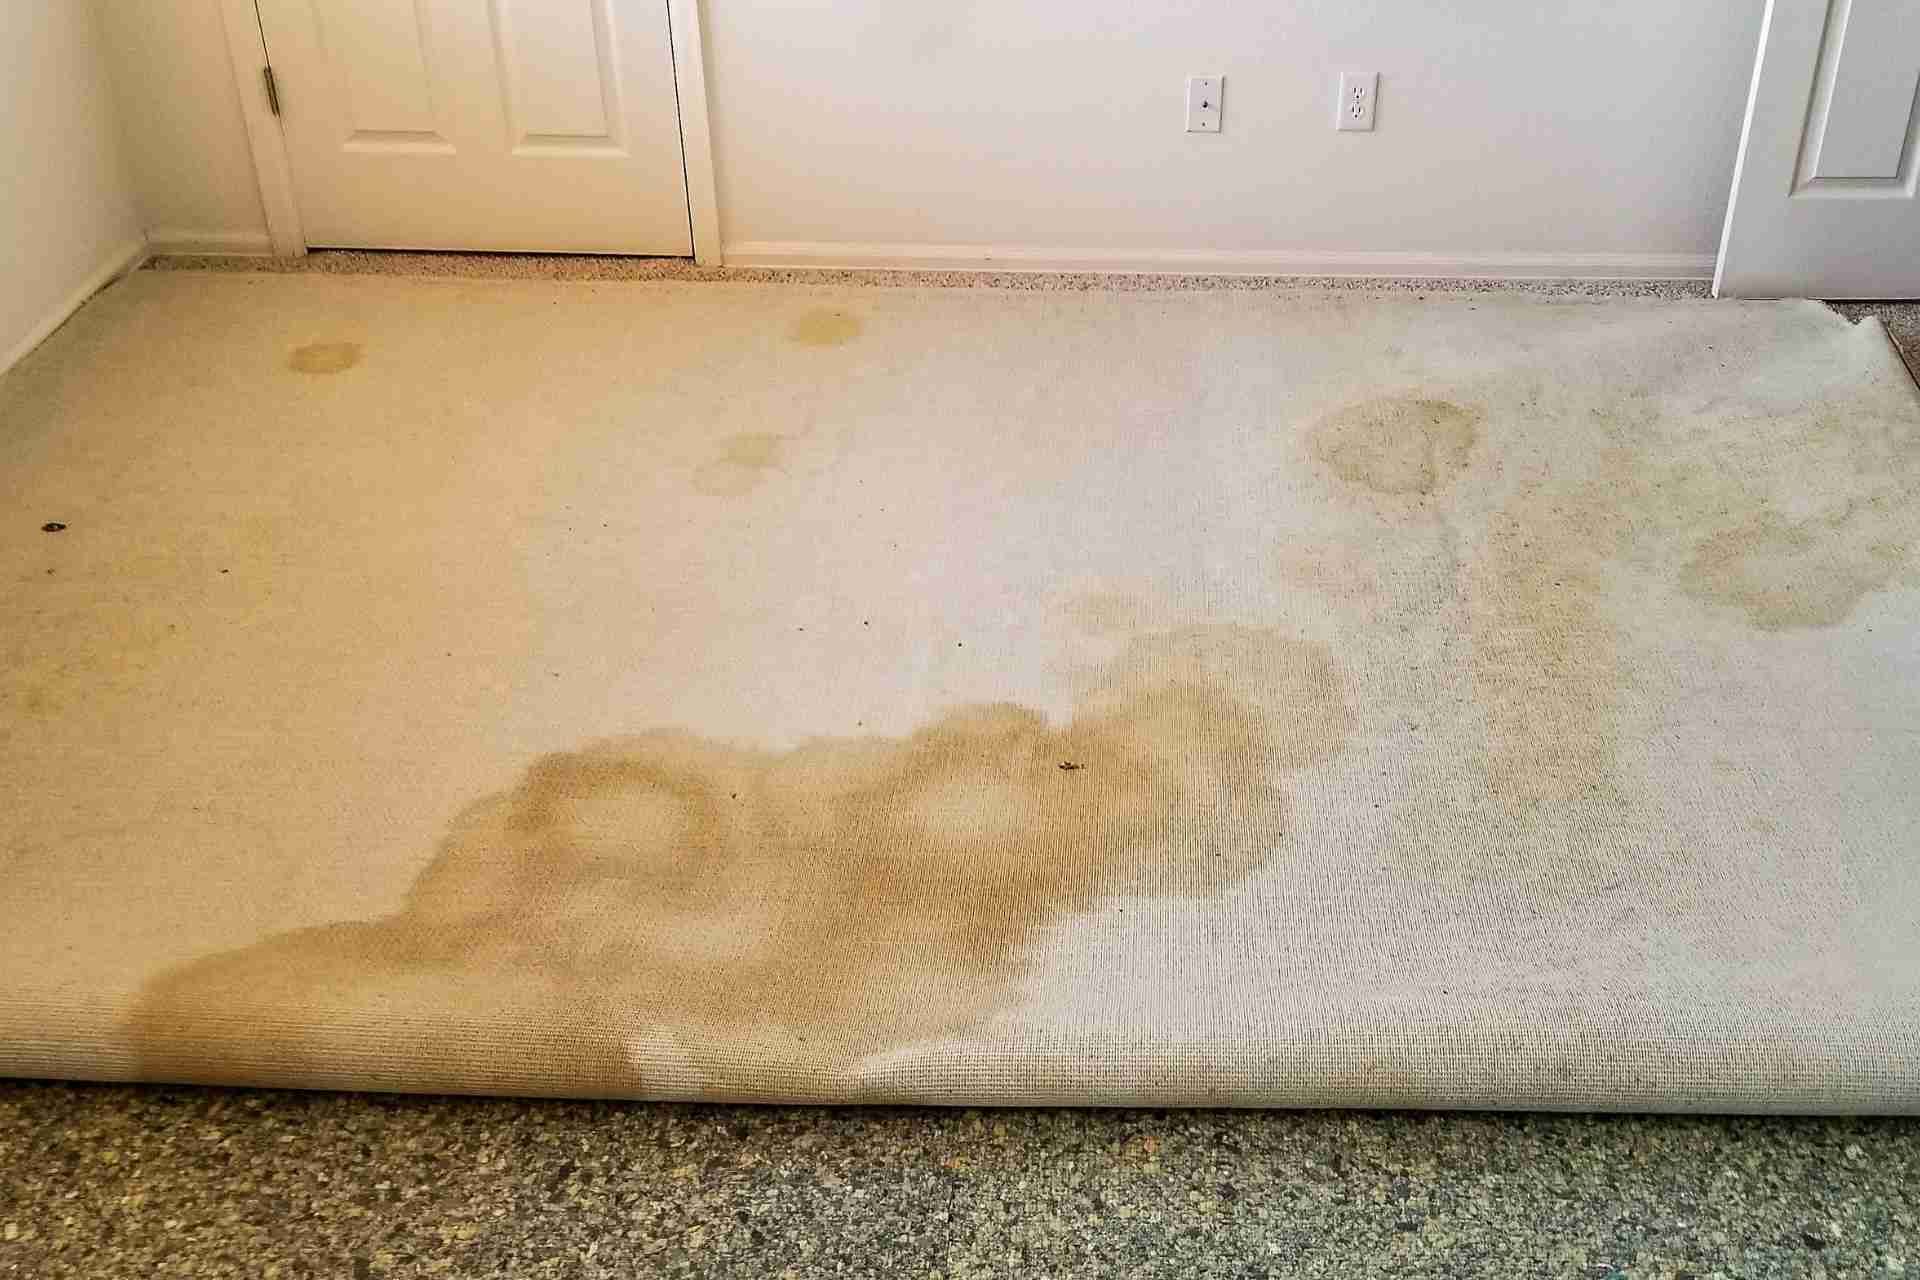
1. Remove the existing flooring: Before you can begin installing your new glue down flooring, you will need to remove the existing flooring material. This may involve ripping up carpet, vinyl, or laminate flooring, or even removing tile or hardwood flooring. Make sure to remove any adhesive residue left behind from the old flooring as well.
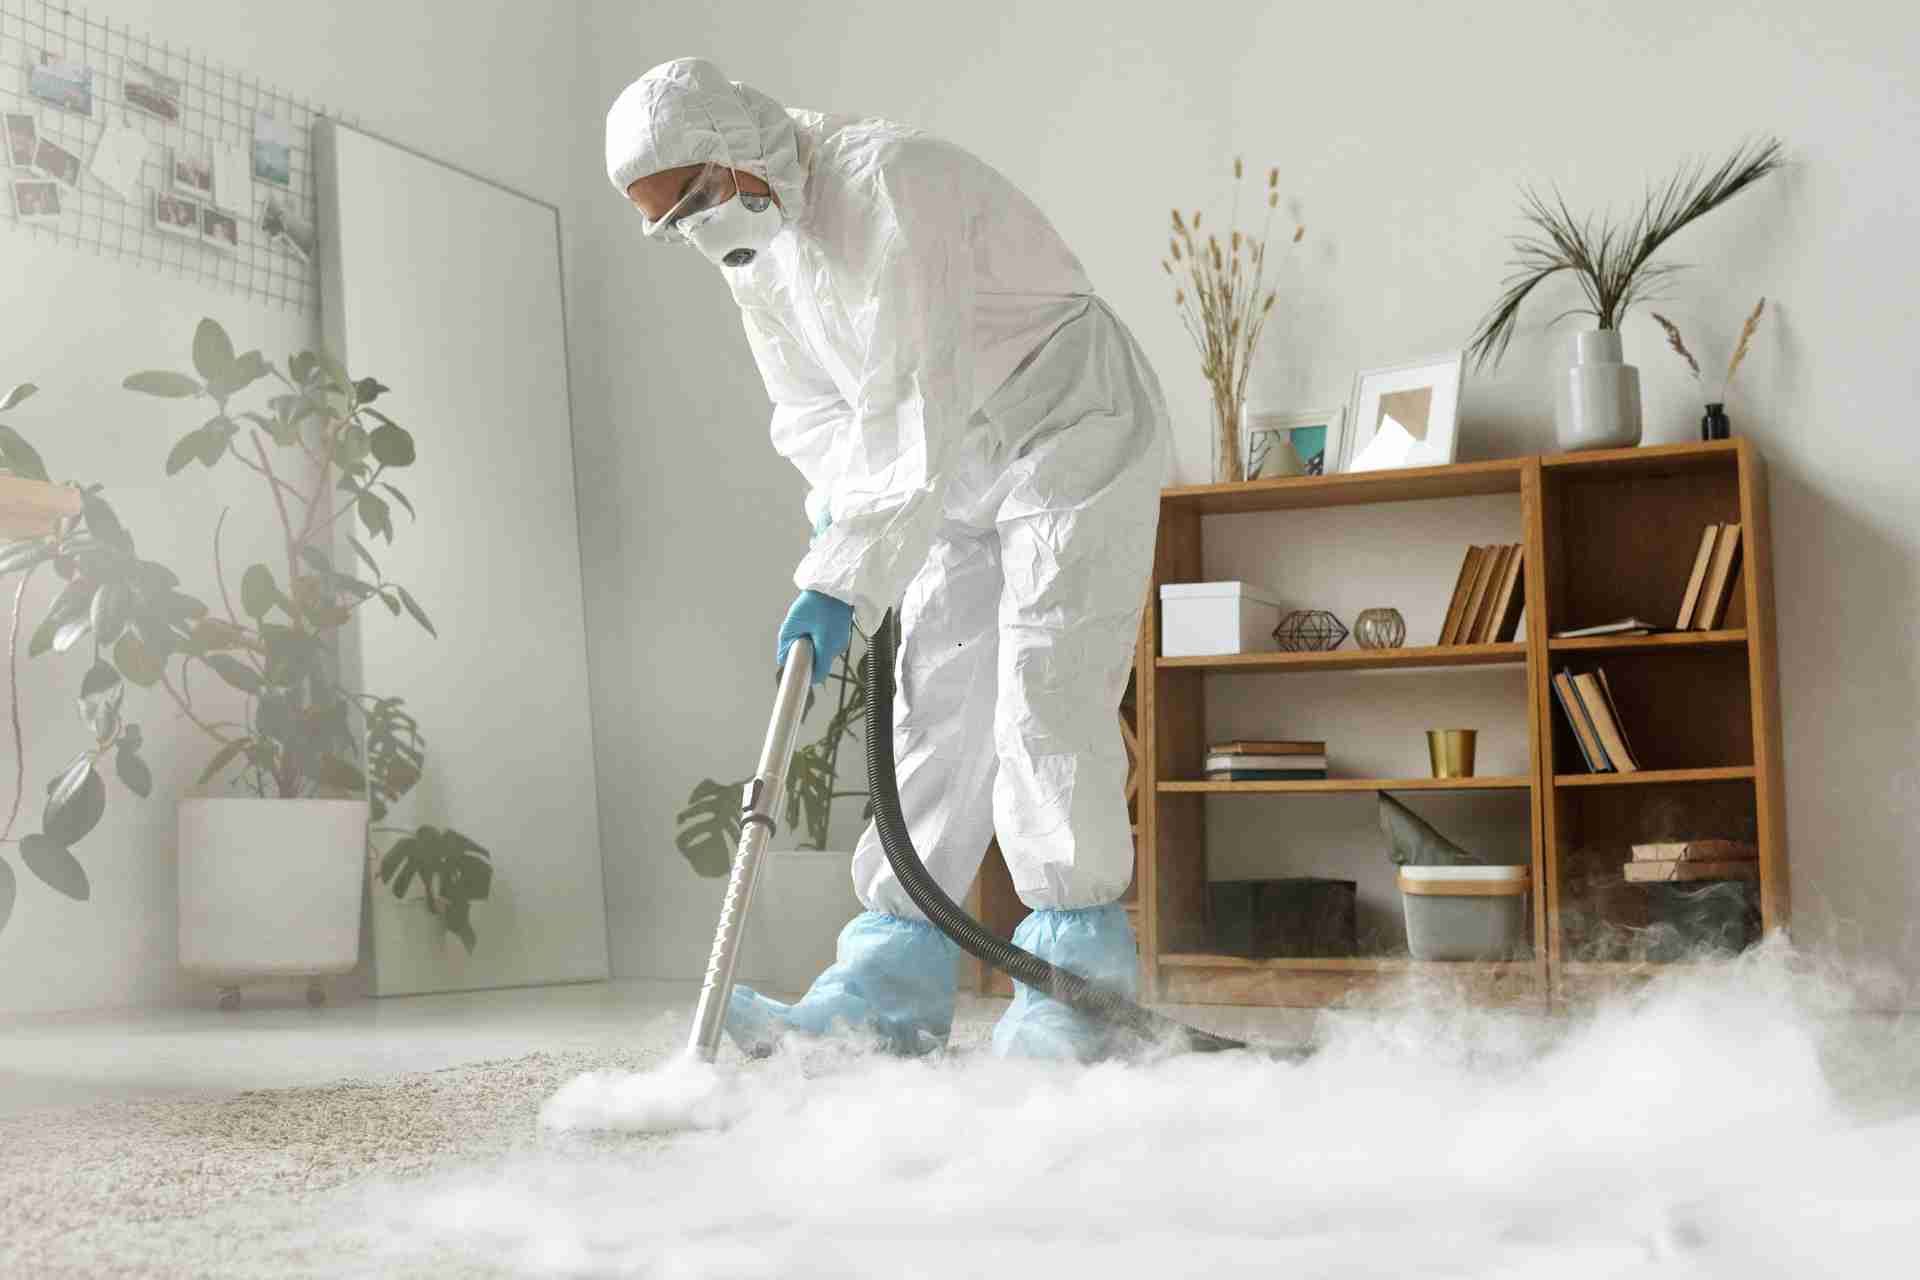
2. Clean the subfloor: Once the existing flooring has been removed, it is important to thoroughly clean the subfloor to remove any dust, dirt, or debris. Use a vacuum cleaner or broom to sweep the subfloor, and then mop it with a damp cloth to ensure that it is clean and free of any contaminants that could affect the adhesion of the new flooring.
3. Level the subfloor: Before installing the glue down flooring, it is important to ensure that the subfloor is level. Use a leveling compound to fill in any low spots or uneven areas on the subfloor. This will help prevent the new flooring from cracking or shifting once it has been installed.
4. Allow the subfloor to dry: Before applying the adhesive and installing the new flooring, it is crucial to ensure that the subfloor is completely dry. Moisture can compromise the adhesion of the flooring and cause it to lift or buckle over time. Use a moisture meter to test the subfloor for any excess moisture, and allow it to dry completely before proceeding with the installation.
5. Prime the subfloor: Before installing the glue down flooring, it is a good idea to prime the subfloor with a primer specifically designed for use with glue down flooring. This will help ensure a strong bond between the subfloor and the flooring adhesive, and improve the overall durability and longevity of the installation.
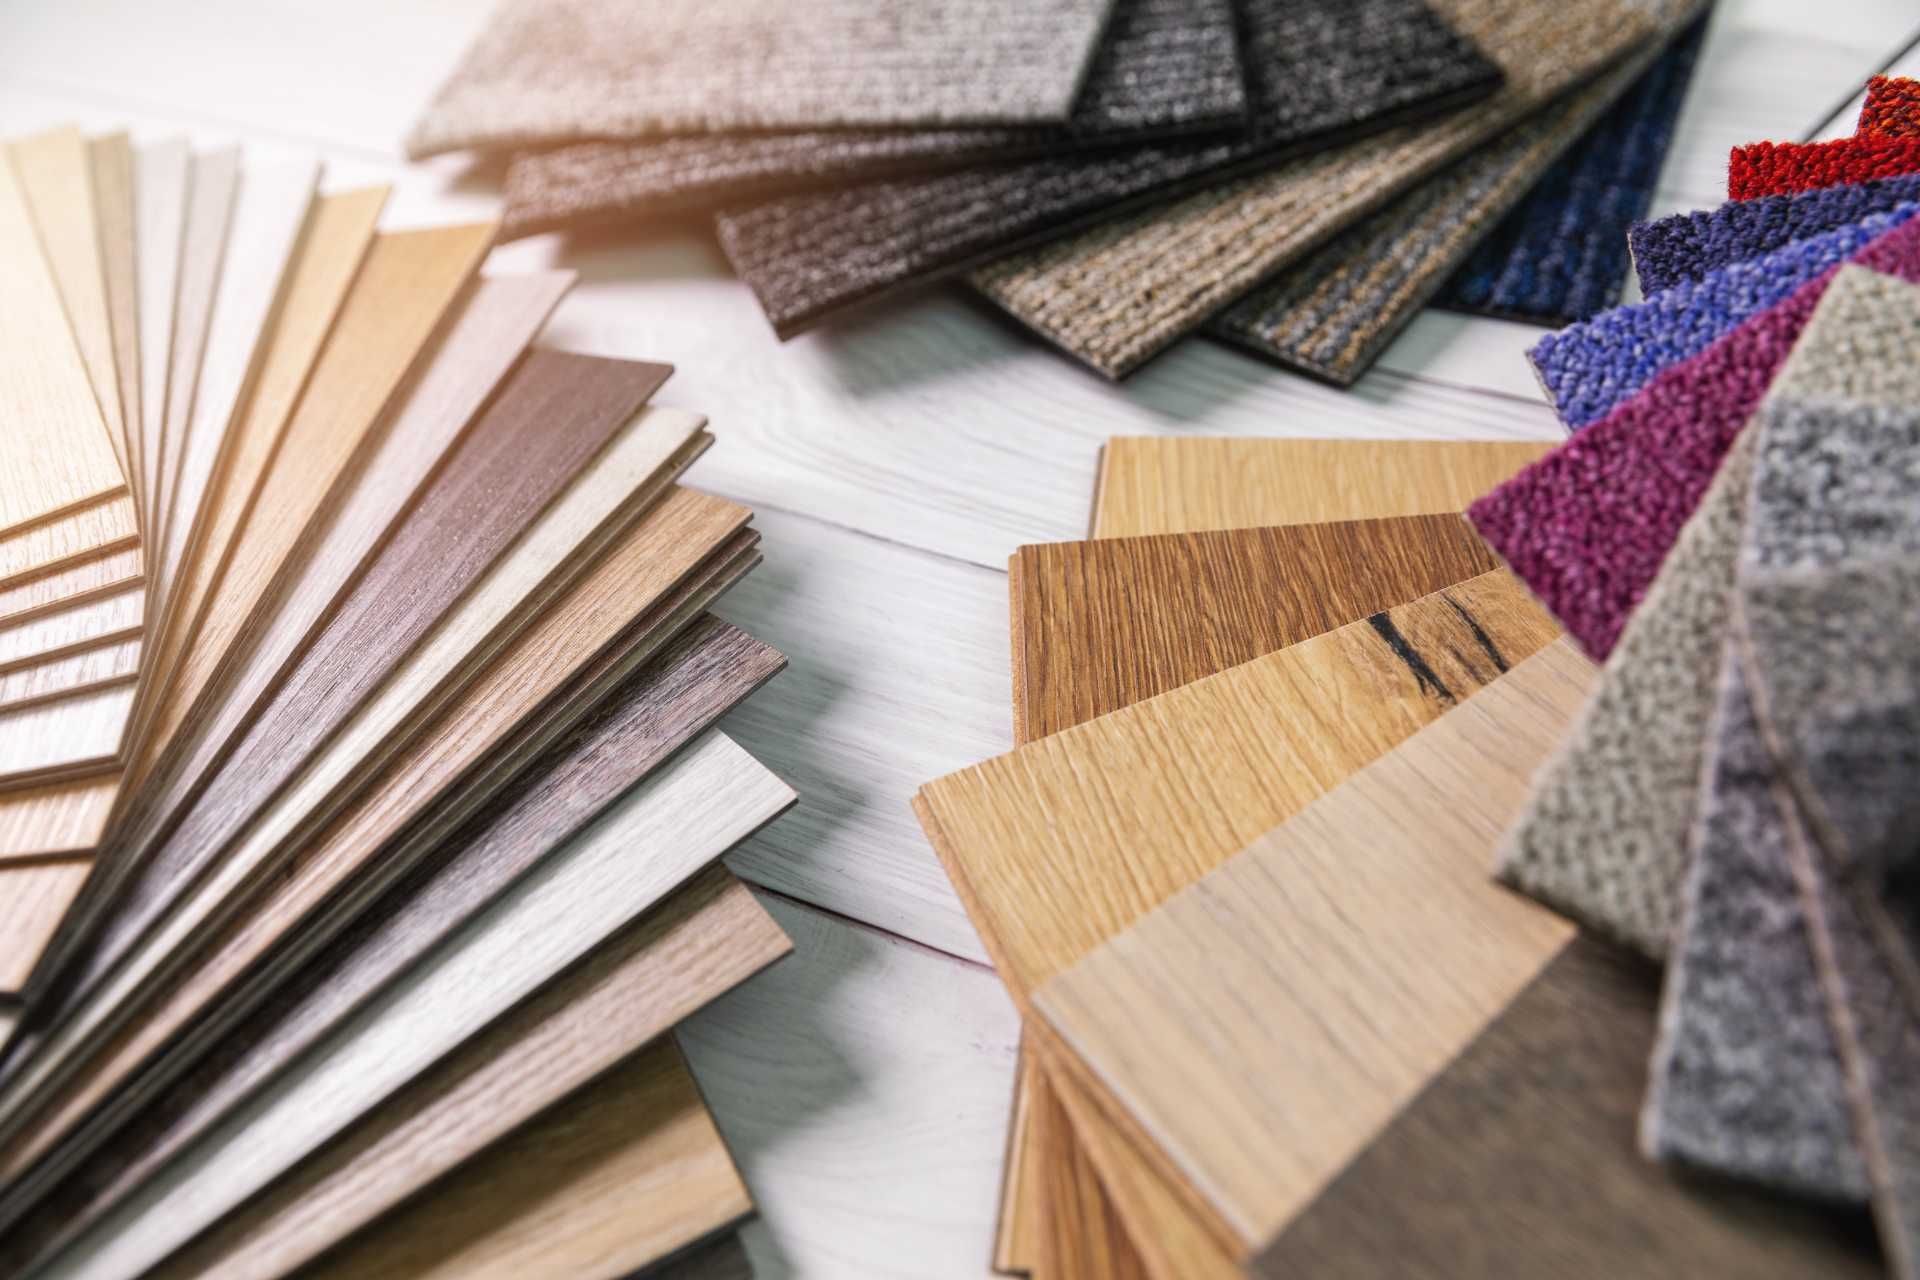
Determine the layout
Start by determining the layout of your flooring and measuring the room to calculate how many square feet of flooring you will need. It’s a good idea to lay out the planks or tiles in the room before you begin gluing them down to ensure they fit properly.
Here are some tips on how to determine the layout when installing a glue down flooring:
1. Plan out the starting point: Before you begin installing the flooring, decide on where you want to start laying the planks. It's best to start in a corner of the room that is square and has straight walls. This will help ensure that the flooring looks even and neat once it's installed.
2. Consider the direction of the planks: When determining the layout, think about the direction in which you want the planks to be laid. Typically, it's best to lay the planks parallel to the longest wall in the room, as this can help create a more spacious and open feel. However, you can also choose to lay the planks diagonally for a more unique look.
3. Measure and plan: Before starting the installation process, measure the dimensions of the room and calculate how many planks you will need. This will help you determine the layout and placement of the planks, ensuring that you have enough material to complete the job.
4. Test the layout: Once you have determined the starting point and direction of the planks, it's a good idea to do a test layout before gluing down the flooring. Lay out the planks without adhesive to see how they fit together and make any adjustments as needed.
5. Consider the layout of the room: When deciding on the layout of the flooring, consider the layout of the room as a whole. For example, if you have a small room, laying the planks parallel to the longest wall can help make the space appear larger. Additionally, think about how the flooring will flow into other rooms or areas of the house to ensure a cohesive look.
Apply the adhesive
Use a high-quality adhesive recommended by the manufacturer of your flooring. Follow the instructions provided on the adhesive packaging for application and drying times. It’s important to work in small sections at a time to ensure the adhesive doesn’t dry out before you can lay down the flooring.
Here are some tips on how to effectively apply adhesive when installing a glue down flooring:
1. Choose the Right Adhesive: Before starting the installation, make sure you have the correct adhesive for your specific type of flooring. Different adhesives are designed for different materials, so be sure to read the manufacturer’s instructions carefully and choose the appropriate product.
2. Apply the Adhesive: Begin applying the adhesive in small sections, working in rows across the room. Use a trowel to spread the adhesive evenly over the subfloor, making sure to cover the entire area. Be careful not to apply too much adhesive, as this can cause the flooring to buckle or warp.
3. Press the Flooring into Place: Once the adhesive is applied, carefully place the flooring onto the subfloor, starting at one end and working your way across the room. Press the flooring firmly into the adhesive, making sure it is fully adhered to the subfloor.
4. Clean Up Excess Adhesive: As you work, be sure to clean up any excess adhesive that may seep out from the edges of the flooring. Use a damp cloth or sponge to wipe away any spills or drips, as the adhesive can be difficult to remove once it has dried.
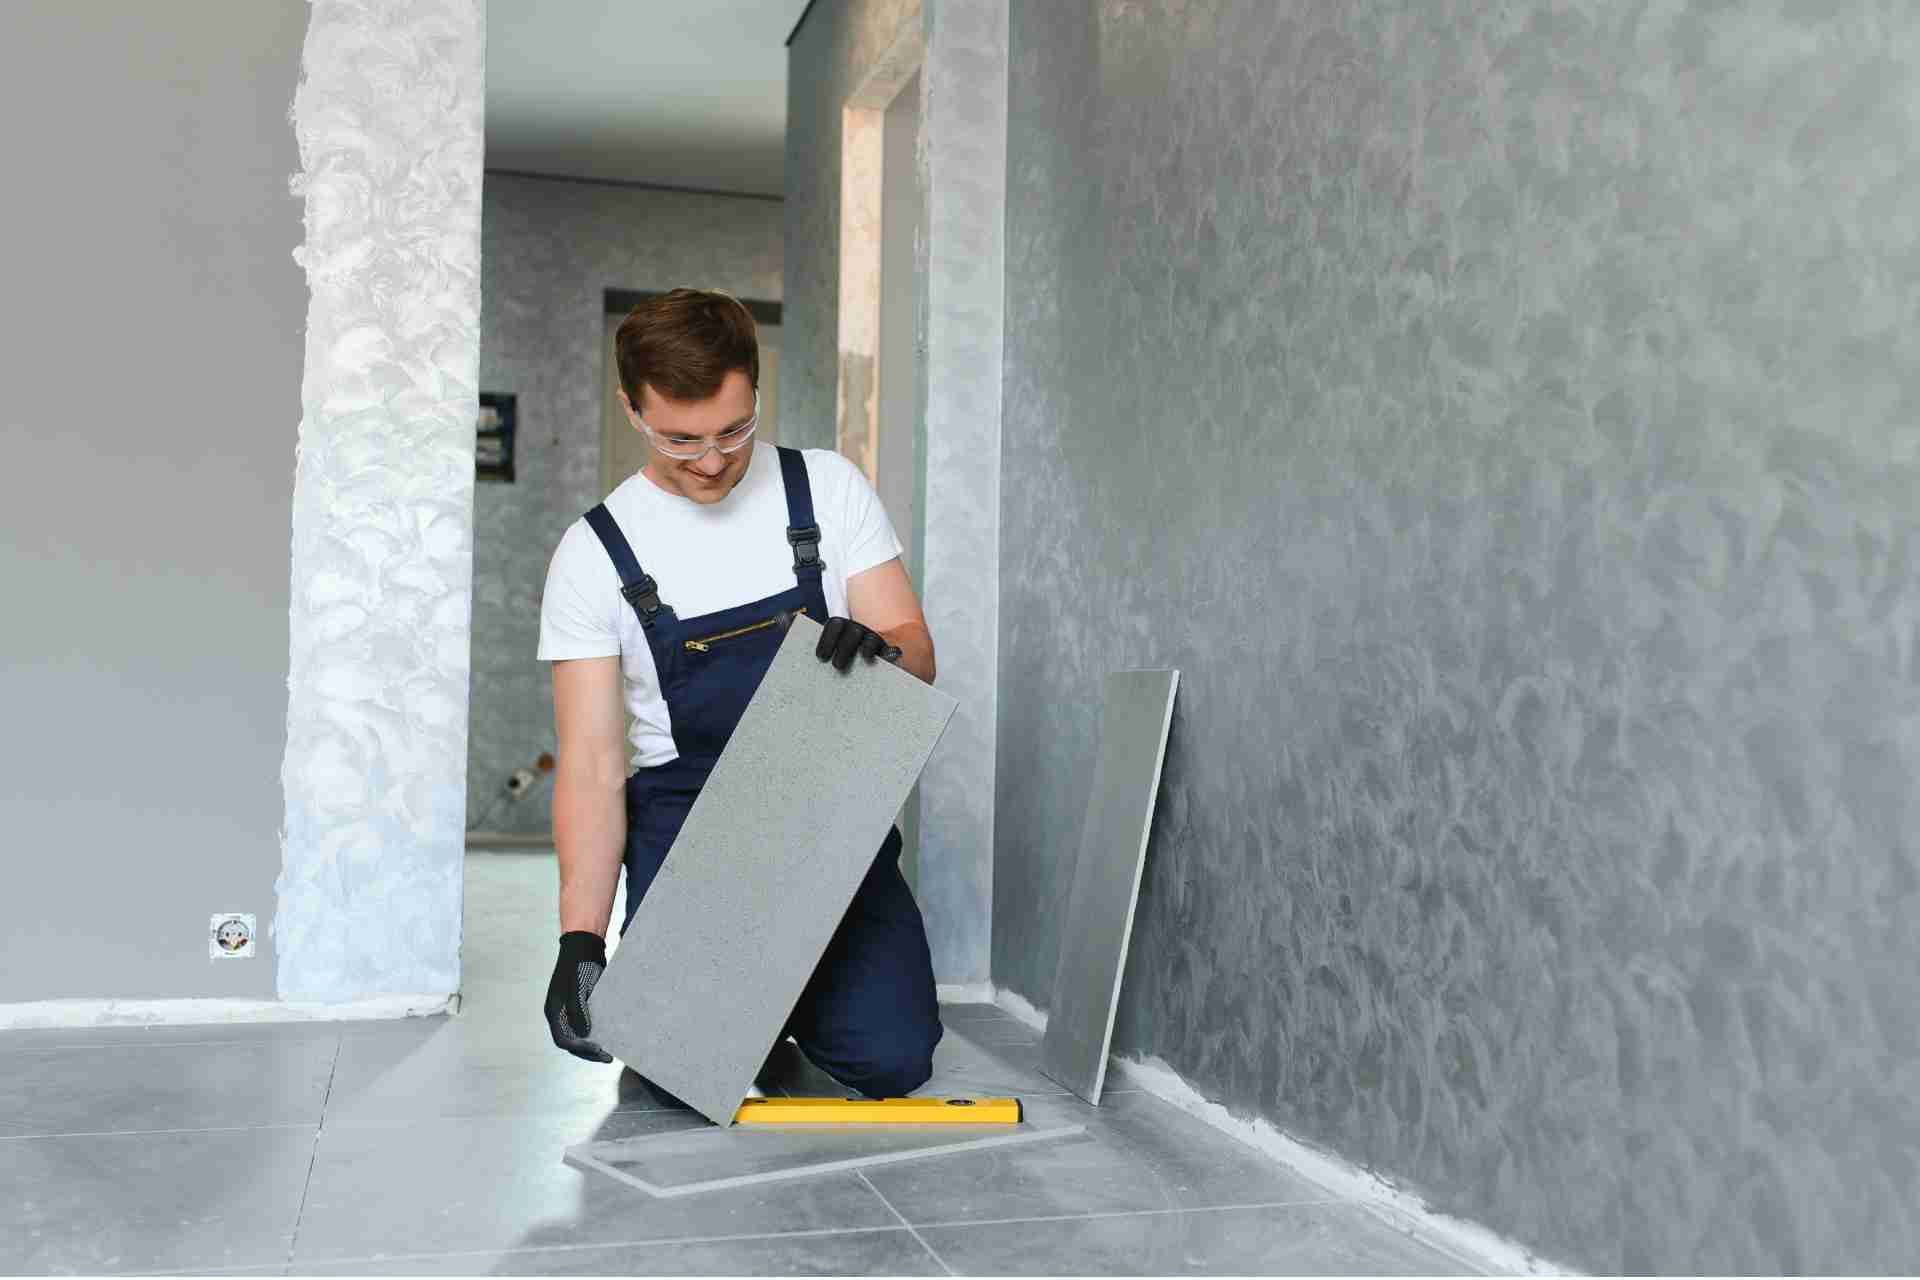
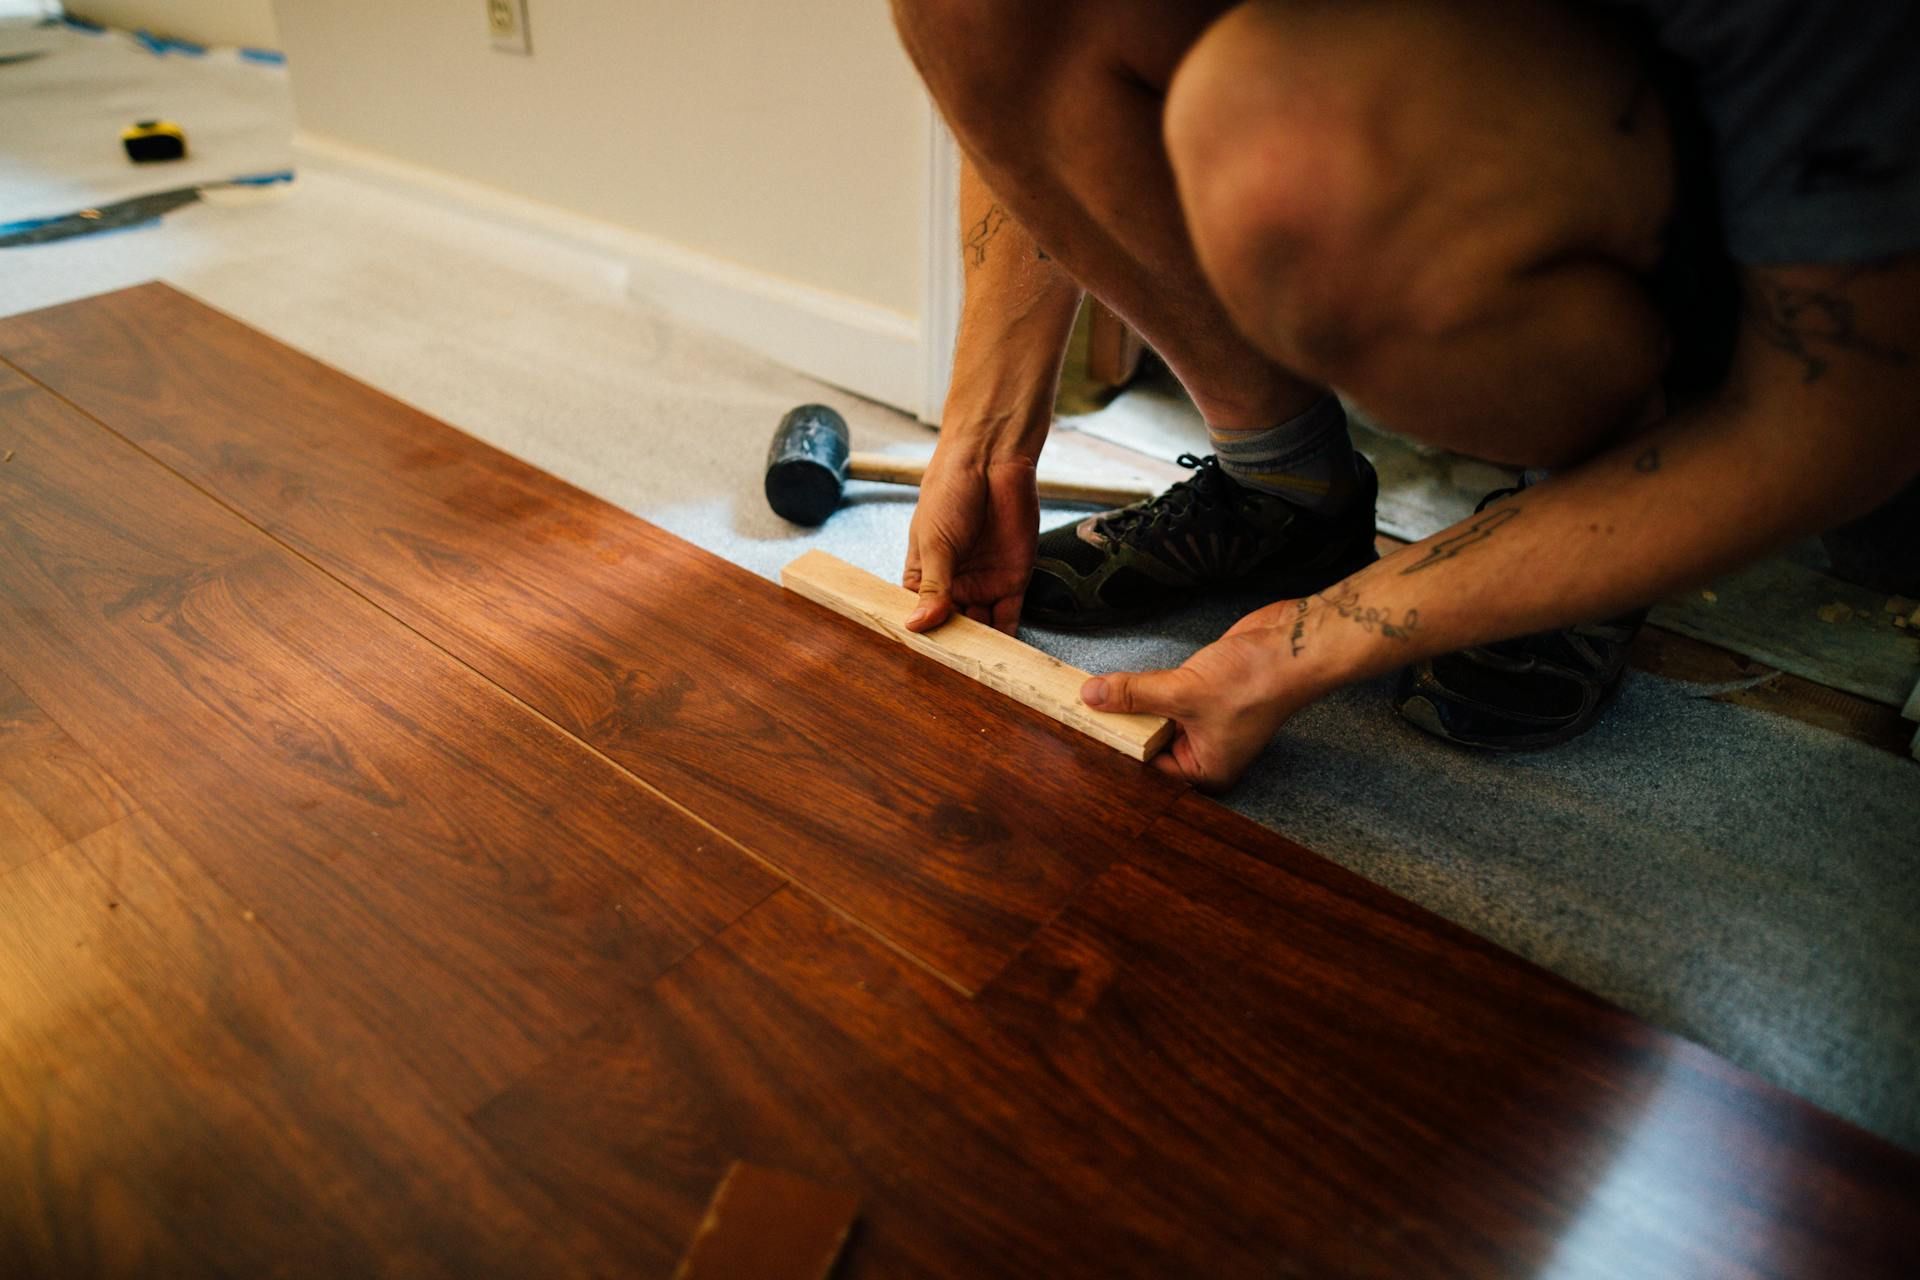
Install the flooring
Begin laying the flooring planks or tiles in the adhesive, starting in one corner of the room and working your way out. Use a tapping block and rubber mallet to ensure each piece fits snugly together. When laying the flooring, be sure to press it firmly into the adhesive to ensure a strong bond. Use a roller to smooth out any air bubbles and ensure the flooring is securely attached to the subfloor. Make sure to leave a small gap around the edges of the room for expansion.
Allow the adhesive to dry
Once you’ve installed all of the flooring, allow the adhesive to dry according to the manufacturer’s instructions before walking on the floors or moving furniture back into the room. Normally, this can take anywhere from 24 to 72 hours, depending on the type of adhesive used. Rushing this step can lead to problems with the flooring not sticking properly or shifting over time.
Finish the edges
To complete the installation, you may need to install trim or baseboards around the edges of the room to cover any gaps between the flooring and walls. This will give your new glue down flooring a polished and finished look.
Not confident in a DIY glue down flooring installation?
If you're not confident in a DIY glue down flooring installation, it's a good idea to work with professionals like
1st Class Carpet Care. They have the experience and expertise to ensure that your flooring is installed correctly and efficiently. Hiring professionals can save you time and stress, and ensure that your flooring looks and performs its best for years to come.
Contact 1st Class Carpet Care for a quote and to discuss your flooring installation needs.